

This is a story of how one mother’s stubborn nature can be (if humility be added) reversed, momentarily, in order to bake a cake.
I like trying new things. (Cooking things, not roller blading or jogging.) What I like is the process of inspiration guiding me on a journey to the final and hopefully successful execution of whatever my little heart desires, but that isn’t always the case, now is it?
I could have easily hidden from you that I royally screwed up these delicate tiny cakes. I could have edited my photographs to make the process look seamless. But, I would rather share with you my victory in overcoming my frustrations and learning a lesson. Not to mention, presenting some pretty darn cute mini cakes that Marie Antoinette may have been referring to.
I had seen an episode of French Food at Home on The Cooking Channel, where Laura Calder is the chef and she is exceptional at making intimidating food look insanely easy. So much so, that for weeks I couldn’t stop thinking about these tiny cakes. “You must make these!” I would mentally exclaim, like a battle cry to weary pastry soldiers, but in my case, to a tired, not-so-pastry mommy. What do I need tiny cakes for? No reason. Except for Project Food Blog's Challenge #4: Picture Perfect, where we were asked to give you a step-by-step pictorial tutorial of making whatever we wanted to make. And I picked these. What is wrong with me?
I started early in the morning baking the cake, photographing ingredients and playing short order cook to my three tots. Order up! Two bowls of toasted O’s, one bowl of oatmeal, two pieces of toast – buttered with cinnamon sugar- two sippy cups (one soy, one 2%), one baby bottle of whole milk with a shot ‘o liquid vitamins and two chewable vitamins for the older siblings. Phew.
With breakfast dished out I quickly got to work, setting up my tripod, adjusting the blinds, doing far too many test shots and wishing I wasn't running on just coffee. As soon as I get the eggs and sugar in the mixer, voices start chiming for seconds on the above said orders. Not wanting to leave my Kitchen Aid mixer's side, I hollered over Elmo singing his extremely annoying song and the 747 whir of the mixer, for the kids to ‘hang in there’ and I would get them seconds, just as soon as the eggs and sugar were ribbony and tripled in size.
That’s how it pretty much went the whole morning. Adding to that, there was stopping and starting a thousand times, breaking up sibling fights and playing nursemaid to bumps (or “dumps” as my daughter likes to call them) on the head and wondering if the cake would ever make it to the oven.
And it did. Thank God.
You may be asking, “What is with this woman? Isn’t there a better time to make petits fours?” My answer would be, “Good question, and yes, there probably is a better time, except, I’m crazy like that.” I simply adore chaotic culinary situations. (awkward cough)
Oh these little cakes! They come across as so simple, so delicate, but I should have known they had hearts of evil. They drew me in with their perfectly square edges, simple aesthetic and glossy, pourable fondant.
Let me just say, the cake is angelic on all accounts. It's easy to make, bake, cut and eat. But the fondant…oh wretched, thy name is fondant!
Actually, to be extremely honest with you, I cannot blame the fondant or the recipe, or Laura Calder, for that matter. I would like to, but the truth is, I committed a pastry sin. I did not measure EXACTLY when I was making the fondant. No, my savory side kicked in with its pompous attitude, flair for egotistical non-measuring and foiled the fondant. Yes, I simply “eyeballed” the tablespoons of water and corn syrup, all the while, the pastry gods were whispering in my ear “You know you shouldn’t do that. You will fail.” But being the stubborn mommy that I am, I shooed those cautionary thoughts away like an irritating gnat.
And I failed, miserably. I owe my fondant catastrophe to my rebellion and kid-distraction. It was somewhere between making peanut butter and jelly sandwiches and looking for a lost sock, that my fondant cooked and seized. To accentuate the stupidity, I added more than enough pink food coloring to put the nauseating Pepto pink to shame. Overall, it was complete disaster. I continued on with my stubborn ‘know-how’ and attempted to dress my little cakes in the molten, grainy, hot pink sugar robe. I had a bad feeling as the fondant started to harden, midair before it even reached the naked little cakes.
What do I do? Do I fake it and pretend that I wanted my cakes to actually look this way? Who am I fooling? I wanted to throw-up just looking at them. Instead of making the fondant again (properly), I chose to try and whip out some rolled fondant that I had left over from my son’s birthday party and cover them with that. Well, all I know about covering cakes with fondant is what I have seen (and never actually done) on Food Network Cake Challenges or from Chef Duff. Disaster number two…check!
Now, nearly to tears and naptime running out, I had a choice to make. Do I chuck the whole petits fours idea and make meatloaf instead? Or do I press through and make the fondant one more time, preferably with correct measurements? I pulled up my proverbial boot straps and did it. And guess what? It turned out perfectly. What a novel idea- measuring.
So here we go. You will now learn how to and how not to make Petits Fours, which mean, “little ovens” in French. (I would have guessed they meant “little, square hell-cakes”.) But in all sincerity, they truly are delicious and if I had followed directions the first time, they would have been a breeze. Enjoy!
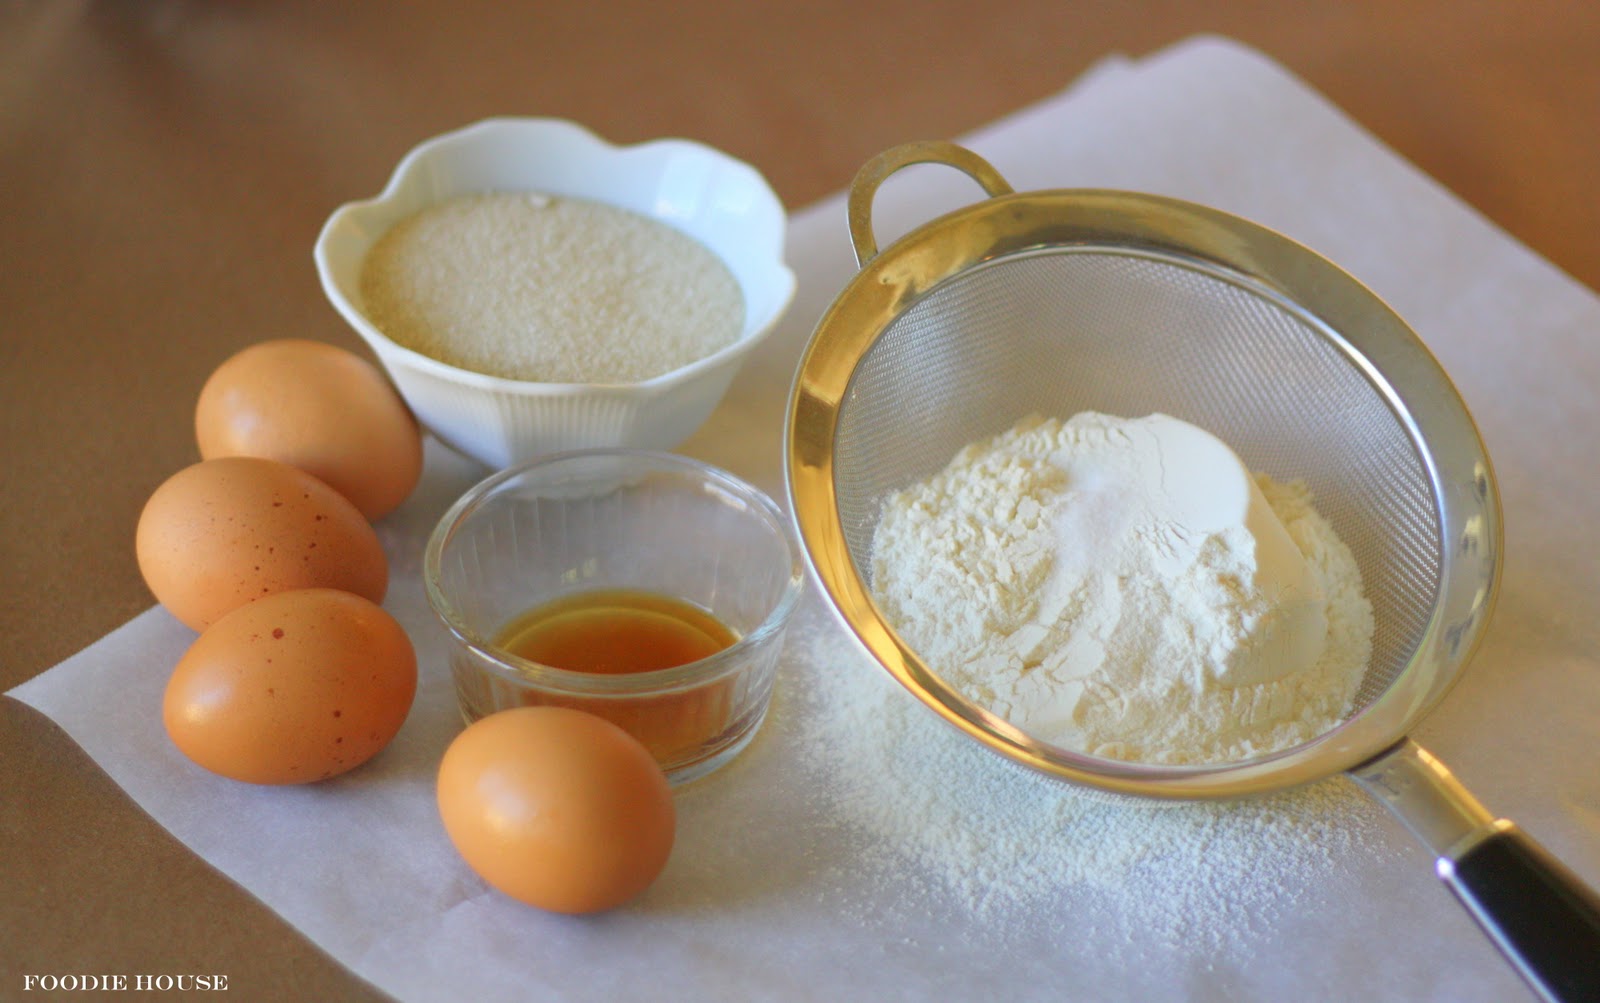
Assembly of ingredients.

4 cracked eggs.

In for a spin.

Add the sweet stuff...

and whip into oblivion (approx. 3-5 minutes).

Add the vanilla and mix a bit more.

The mixture should be thick and ribbony, like this.

Prepare your pan with parchment paper.

Sift the flour and salt.

Add flour in spoonfuls.

Gently fold in flour, cutting down the center of the mixture and coming back up again. Turn the bowl and continue until the flour is just mixed in. Be careful to not over-mix.

Pour batter into prepared pan and bake.

Time for the not-so-fun stuff...clean-up.

Jelly, marzipan and journal filled with grandiose ideas. I found out how much I love marzipan- nearly ate the whole tube while waiting for the cake to bake.

Let the cake cool for 10 minutes in the pan.

Invert onto a cooling rack and peel away parchment. Cool completely.

Get to rollin' the marzipan, very thinly.

Generously paint on the warm jelly.

Lay the thin sheet of marzipan over the jelly and trim the edges.
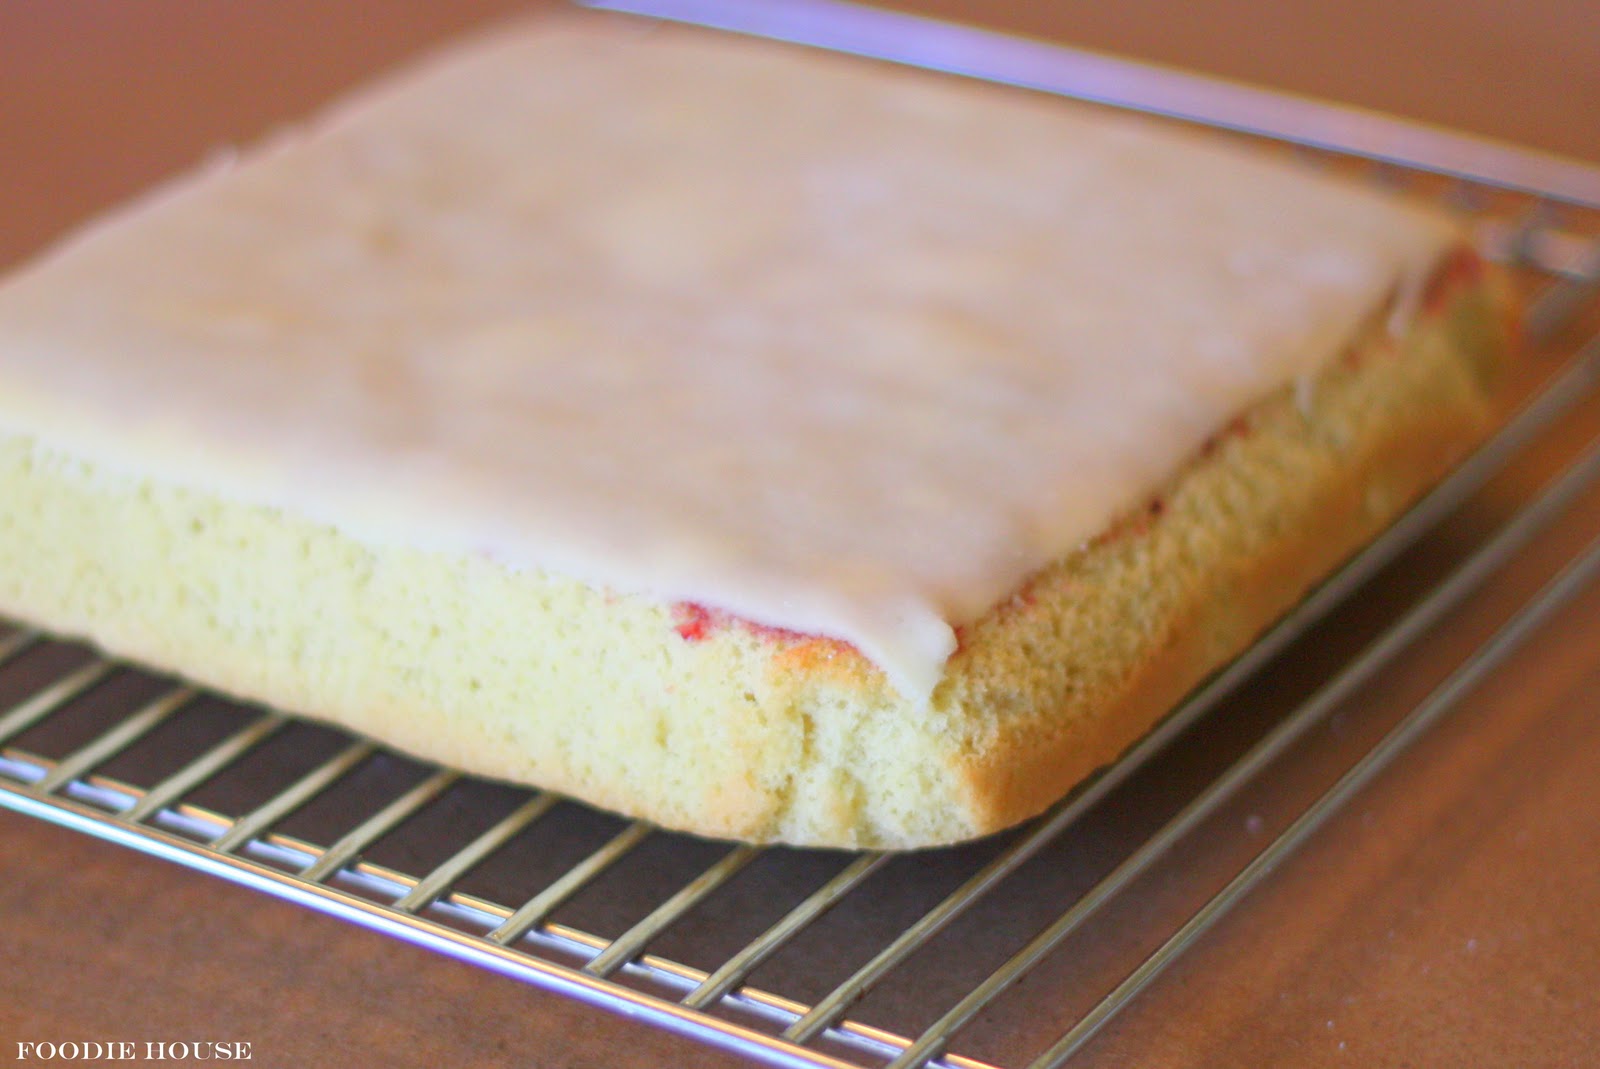
Ready for some plastic wrap...

and a nice cold stay in the fridge for 30 minutes, to firm up the cake.

After it has chilled, trim the edges of the cake to make it square.

Divide the square into 4 equal widths.

And again.

Voila!

And so the pastry sin began. First with the corn syrup...

and again with the water...

and for whatever reason, I did measure and sift the powdered sugar.

Looks okay, right?

But then the food coloring thing happened...

And bad went to worse.

The angelic little cakes sat patiently awaiting...

a crusty, hot pink, catastrophic enrobing. Oh, God.

Poor little things.

They were so distraught that they did a pyramid formation.

And then I picked off every last bit.

And started over.

This time, using the proper measurement, the fondant worked like a dream.

Perfectly drippy and pink.

Shiny.

I couldn't resist the glitter in my pantry, just begging to be used.

For half of the cakes I cut out tiny rolled fondant (you could use left-over marzipan for this too) hearts with a cookie cutter and brewed myself a cup of tea.

A setting fit for a queen.

Oh, don't mind if I do.

The towering tiny treats...

took a tumbling roll. Reminiscent of one famous Marie's head? Ironic? I think not.
Petits Fours
Adapted from Laura Calder's French Food at Home cooking show
Prep time: 30 minutes
Inactive time: 2 hours
Cook time: 25 minutes
• For the genoise (that's French talk for "sponge cake")
• 4 eggs
• 1/2 cup plus 2 tablespoons sugar
• 1 teaspoon vanilla extract
• 1 cup all-purpose flour, sifted with a pinch kosher salt
• For the topping
• 3 tablespoons apricot or red-currant jelly (I used a mixed berry jelly)
• 4 ounces marzipan
• 1 tablespoon light corn syrup
• 2 cups icing sugar (confectioners')
• Food coloring, optional (I used Wilton's pink gel food coloring. A tiny, tiny bit for light pink color.)
• Silver balls (dragees) or icing flowers, for decoration (I used edible pink glitter that you can get at speciality cake supply stores)
DIRECTIONS
To prepare the genoise:
Grease and line a 9-inch cake tin with parchment paper. Preheat the oven to 350 degrees F.
Whisk the eggs and sugar, preferably with an electric mixer, until tripled in volume, and thick and ribbony, like whipped cream. Add the vanilla. Scatter over the flour and salt, a spoonful at a time, and gently fold it in, without over-mixing. Pour the batter into the pan, and bake until a toothpick inserted in the center comes out clean, about 25 minutes. Let cool in the pan for 10 minutes, before removing to a rack, and cool completely.
To prepare the topping:
Melt the jelly with a the water in a saucepan, and strain. Lay the cake on a rack, bottom up, and brush the jelly mixture over the surface. Roll out the marzipan exactly to the size of the cake, and lay it on top. Trim the edges of the cake, wrap, and chill for half an hour so it will cut neatly.
While the cake chills, make the icing: Put the corn syrup with 2 tablespoons warm water in a saucepan, and heat to dissolve. Beat in the sugar, adding about 2 more tablespoons of warm water (or part liqueur, if you like) to make a smooth icing which, when poured, will drape over the cakes like a satin sheet. Tint the icing with a few drops of food coloring, if using.
Remove the cake from the refrigerator and cut into perfect 1-inch squares with a sharp knife. Place them on a wire rack set on a baking sheet. Spoon the icing over each 'cakelet' to coat completely. Let the icing set, and repeat. Decorate the cakes, and store in an air-tight container until serving.
To the judges and voters, I want to say thank you so much for allowing me to continue on in Project Food Blog! This contest has lit a creative fuse inside of me and has pushed me to step out of my comfort zone and think bigger. I want to go all the way with this. That would be a dream come true. But for now, I take one challenge at a time, savoring it and enjoying the journey.
Voting starts 6AM Pacific Time October 11th and goes through 6PM Pacific Time October 14th.
Love ya, Foodies!


